Let’s face it, we all have them: fairy lights, Christmas lights, string lights… whatever you call them, we are pretty sure you have at least a set lying deep within the forgotten crevices of your home. Whether you’re a café owner, a student with a depressing dorm room, a tumblr creature or just looking to spice of your life, you better get your fingers flexing for you’ll be onto some serious DIY-ing after reading this.
ONE : Embellishing your String Lights
Bring out the inner crafter in you as this would take a teaspoon of experience, a tablespoon of time and a cup of creativity! This is coming in first on the list because this can be applied across all the following ideas. With lantern string lights becoming increasingly trendy, owners of the traditional string lights might feel lost as to whether they should stash a set of perfectly good lights for newer, more fashionable ones. Fret not for here are some ways you can up-cycle your boring ole lights.
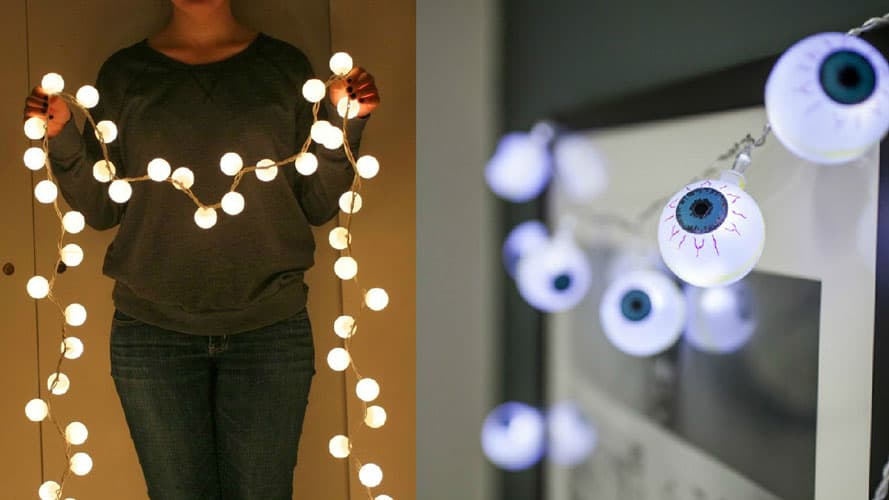
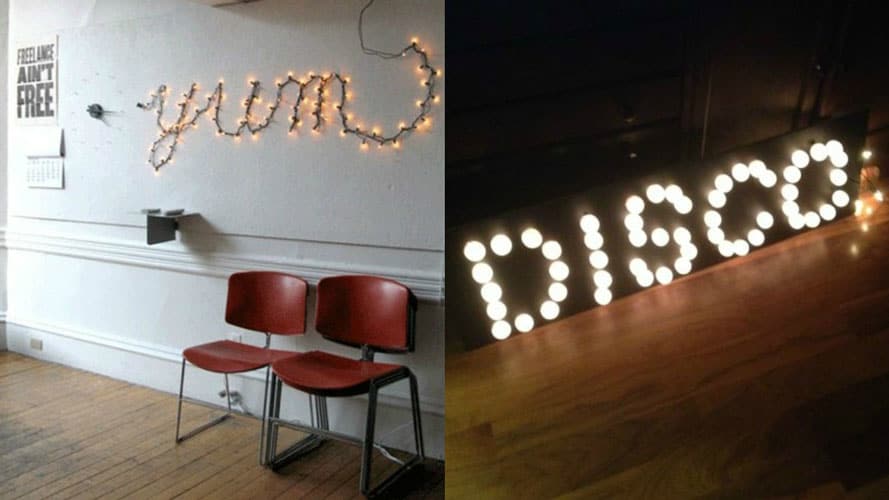
Got some ping pong balls lying around the house from past ping pong playing endeavors? Now’s the time to whip them out!
For this DIY, you’ll need:
- Ping pong balls. Or, as some of you might call it, table tennis balls.
- Exacto knife. An incredibly useful cutting tool that all self-proclaimed DIYer MUST own. If you don’t have one, Art Friend offers a generous variety.
- Marker (optional)
How-to:
- Using a marker, make a mark on the ping pong ball that is slightly larger than the bulb. Make sure not to make a marking that is too large as the ping pong balls might just slip off the bulb if it is too loose.
- Carefully use the exacto knife to make a X that keeps within the circumference of the marking. It might take a few ‘tributes’ before you finally get the hang of this but sacrifices have to be made!
- Repeat for the rest of the ping pong balls. Gradually, you’ll find that you don’t need the marking anymore. Great job!
- After you have punctured the right number of ping pong balls, carefully push the bulb into the X. You might have to wiggle it a bit before it can slide in smoothly. At this stage, patience is extremely important: you don’t want to have any broken bulbs!
- Plug in the string lights and BAM! Now you have created something pretty and tres chic at a small cost. #DIYgoals. Take it up a notch by drawing on the ping pong balls with some Sharpie markers.
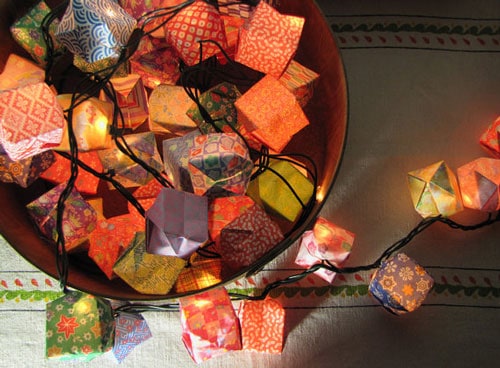
Remember those primary school days spent folding origami? Relive those days with this DIY as we fold paper boxes to embellish the bulbs. All you need is a stack of paper to get started with this DIY. Wit and Whistle did a clear step-by-step for this origami project on her blog. Pre-project advice: Though scrap booking cardstock is an attractive option, avoid those as they are hard to fold origami with. If left with no option, you can always print a few patterns off Google Images on normally printing paper!
For the romantic DIYers with a pinch more experience, here’s a great way to use string lights to recreate a Lana Del Rey flower child inspired room. Pre-DIY advice: Pick a petal colour that goes well with the colour of your lights.
What you’ll need:
- Superglue or floral tape. Floral tape can be bought from your local florist and Art Friend offers a good variety. They commonly come in green, white, and black: pick a colour that goes will with your petals and your string light casing.
- Fake Bodhi leaves for the petals. Again, you can get this in many colours from Art Friend.
How-to:
- Plan how many petals you will want on each bulb. From there, count how many packets of Bodhi leaves you will need to get.
- Work layer by layer, starting with the innermost row of petals and working your way out. If you’re using superglue, plan the placement of each leaf before gluing them on individually. You have it easier if you’re opting for the floral tape option as you can apply a few petals at a go.
- Repeat for the rest of the bulbs until you’re done. Don on your flower crown and snap of shot with your floral string lights. #bohochic
Not all embellishments have to be done on the bulbs itself! Tassels are a great addition to add colour and draw attention away from the boring cords. You can buy pre-made tassels from any tailoring shop or you can always hop by the nearest convenience store to get a handful of embroidery floss to DIY your own. Check out this video to learn how you can make your own tassels!
TWO : Twine it around stuff
Yes, the go-to solution for most string light owners because it is the simplest to execute. But with a so many things you can wrap your string lights around it will be hard to decide where you should twine it around. Here are a few ideas you can adopt:
Though traditional, we cannot deny how timeless the Christmas tree decoration is. Even if we’d love to have Christmas every day, it will be strange to have a fir tree in your space all year round. Thus, you can look into twining your string lights around your indoor plants, your plant vases, and if you’re lucky enough to have a garden, you can twine it around your tree trunks! Safety notice: Be extra careful when executing this idea as any exposed wire on the string lights will result in electrocution when in contact with water from the plants. Artificial plants are a safe choice to go with.
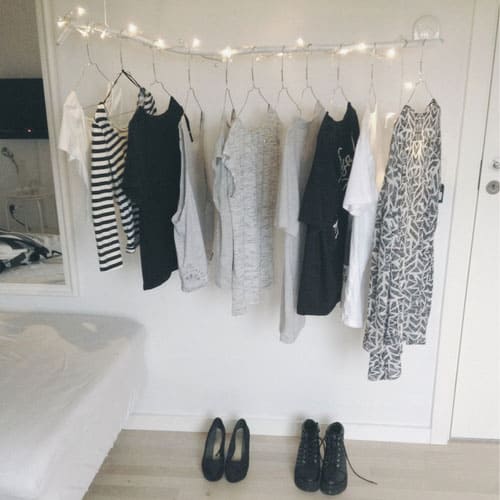
I’m sure most of you have enclosed wardrobes that are dark like mine. Why don’t we twine our string lights around the wardrobe rails? This here is a lovely and innovative way to brighten the gloomy space. This idea can also be applied to dim shelves that require new life.
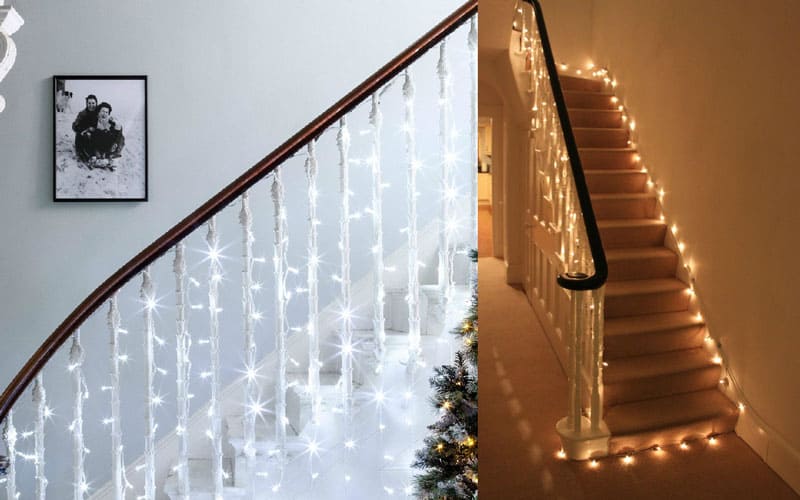
Be it a cafe or your home, we are pretty sure you have some sort of railing around – stairs, window grills etc. Adding string lights to these areas add a touch of excitement to something so mundane. Imagine walking up a flight of stairs decorated with string lights: there is an essence of wonder and magic as you ascend. It is also functional because places such as the stairs and windows are accident prone areas. Adding the lights can serve as a pretty warning signal.
Have unsightly wires lying around your table? Use string lights to adorn these wires. This has an added function of reminding you to turn off the main switch after you’re done using it.
THREE : Line it with curtains
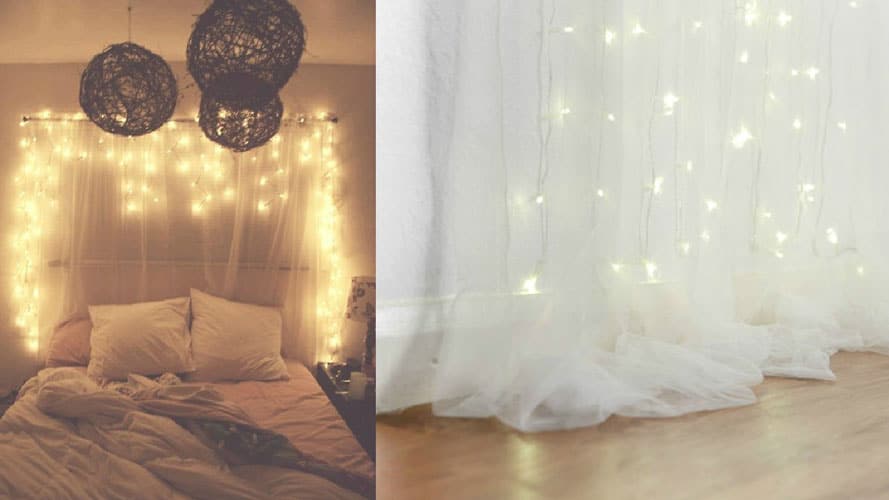
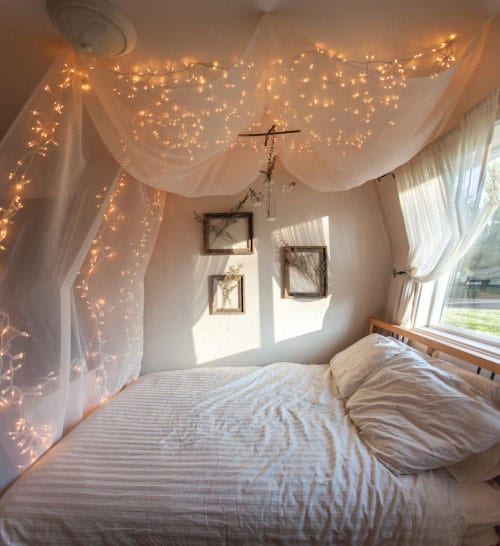
This idea is simple, chic, and gives the room a very muted elegance. It works especially well if your curtains are on curtain rods. However, the curtains in most Singaporean homes are probably hooked onto little curtain rings on roller tracks. Don’t worry, it isn’t something a spool of fishing string and a little innovation cannot solve. Pre-DIY tip: If possible, opt for lights with a warm tone to strengthen the ambiance this DIY aims to create.
What you’ll need:
- Scissors
- Fishing string or jump rings. Both can be bought from any hardware store at a low cost.
- A ladder
How-to:
- Depending on your curtains and your preference, measure the intervals between each hoop of string light. To make things easier, count how many curtain rings you want to have between every hoop.
- Tie a loop of fishing string onto the curtain rings while making sure there is enough leeway for the string lights to thread through. If you’re using jump rings, you can jump straight to step 3.
- Thread your string lights through the loops of fishing string. Remember to let a length of string light fall down with the curtain before threading it through the next loop. If you’re using jump rings, use pliers to make an opening wide enough to fit through the curtain ring and the string light before closing it.
- Repeat step 3 until you’re done! Get yourself a glass of tehping, sit back, and take a moment to appreciate your tumblr-fied room.
FOUR : Accenting feature pieces in the space
Have a piece of furniture you feel needs more attention? Using lights is definitely a classic and the most effective way of tackling that dilemma. A popular choice would be to go the ‘Hollywood backstage’ way by outlining a mirror with the string lights. While this works for most mirrors, mirrors with a detailed and elegant baroque framing shouldn’t be embellished with strings light as it would be adding too much to something that already demands attention in its rawest state. Hence, here are other ideas you can consider adopting:
Something you wouldn’t miss in most Asian homes is a piano tucked neatly away in a quiet corner of the house. Due to its frequency in homes, the majestic instrument has gradually faded into the monotonous background. Lining your piano with string lights won’t only give your piano the attention is needs but it adds a subtle indie touch to your music set. You can try this out with other instruments: guitars, drum sets, music stands etc.
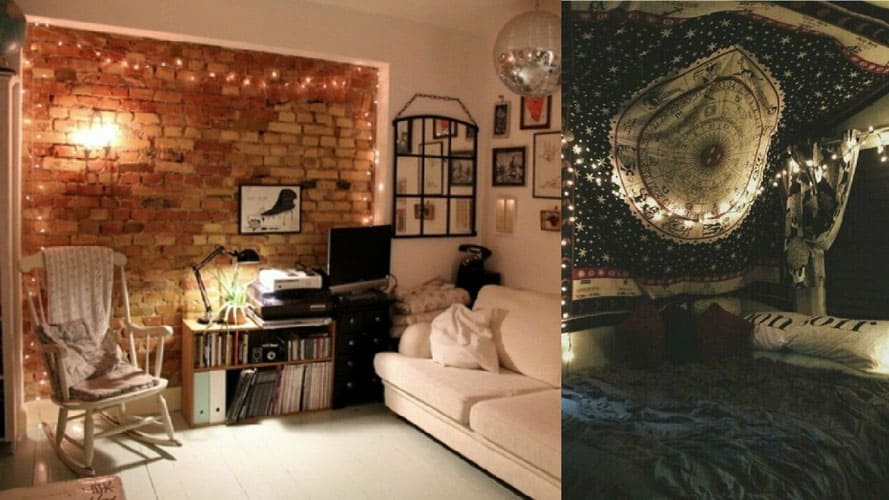
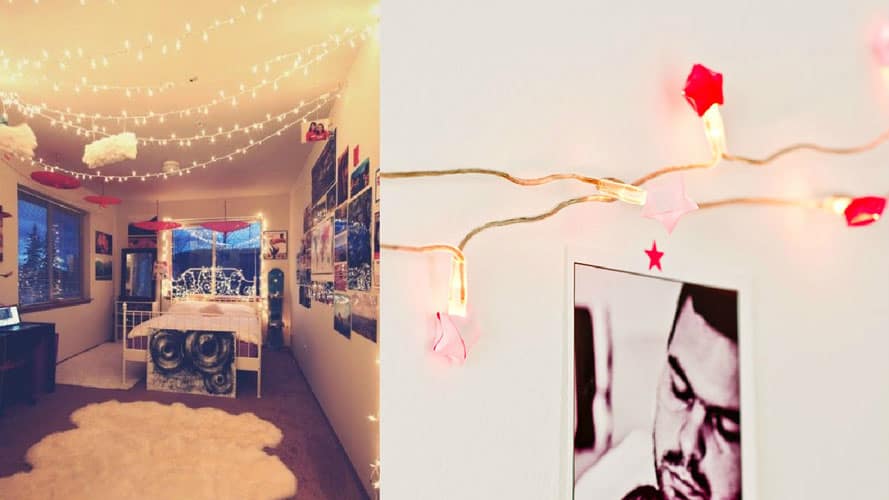
The picture on the left is such a perfect example to prove my point! There’s so much going on in this room that it takes most people sometime before they notice the naked brick wall. Framing the brick wall with string walls redirects the visitor’s line of vision to the wall, it also gives the hardy, masculine wall a feminine softness. The adjacent room is another idea we love! When it comes to areas where space is a limitation for light fixtures, string lights come in as a lifesaver. The room above has a low, sloping ceiling and an overhead drape that makes it hard to install any kind of wall-mounted light fixtures. The versatile string lights are used to remedy those areas and give justice to the beautiful details on the horoscope inspired fabric.
FIVE : Illuminate containers
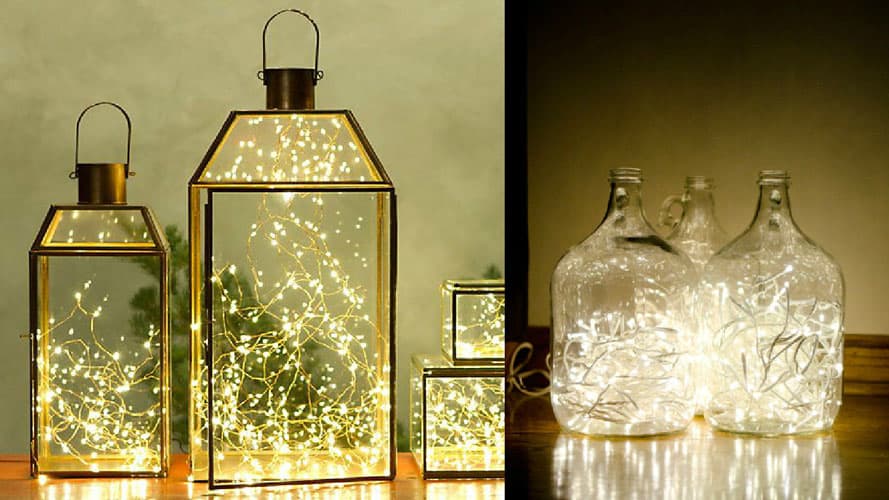
For those not looking to make such a bright statement with their string lights, this idea is the one for you. Take out a beautiful clear container you have lying around and stash the string lights into it. This is by far the most fuss-free and flexible solution on the list. You can display your creation in virtually any part of your house or cafe, at the same time giving a refined touch to your space. This is also such a storage hack as you will never have to bother about twining the string lights in a neat roll for storage: you can just stash the container and string lights away.
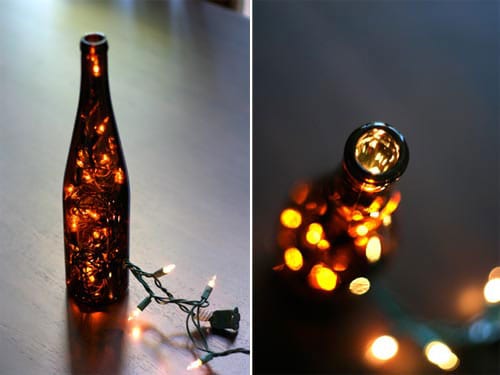
Green solution alert! Remember the 3R’s? Wit and Whistle shows us brilliant way to save the environment one wine bottle at a time. No, we won’t be reducing our alcohol consumption, neither will we be recycling them – it is simply too much work. In fact, we’ll be reusing them by giving them new purpose. We can get an attractive table piece by stuffing our string lights into these wine bottles.
SIX : Stars and Constellations
This goes out to all our horoscope-crazed friends seeking an outlet for divine creativity. Grab a pack of blue tack from your nearby mama shop and a ladder to get started. The following ceiling constellation installment brings it a notch up by incorporating sheer drapes under the string lights: they give the ceiling a very cloudy look while adding a bohemian feeling to the space.
However if height remains an issue for you or you find it too tedious to move your ladder all around the room, we recommend hanging stars. This may not give the same clustered stars effect seen in the previous method but it certainly does not lose out in the romantic quality it adds to the space. Take it a step further by adding origami stars to the bulbs as seen in the picture on the right. Bring back those days spent folding hundreds of paper stars just to get a wish.
SEVEN : Canvas-light installation
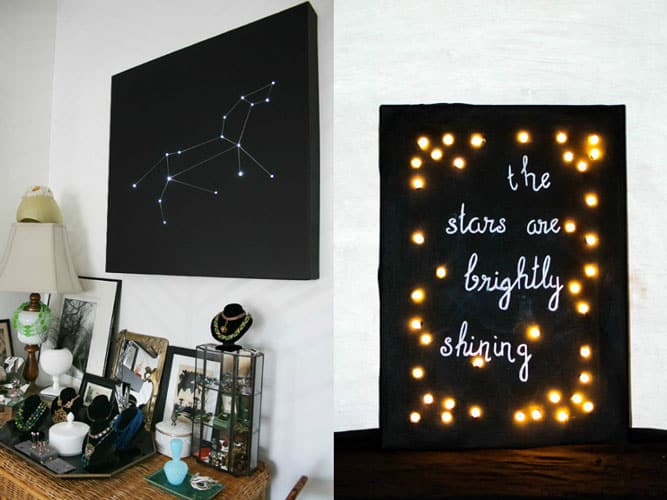
In relation to the previous tip, if the ceiling is not a possible outlet to share your love for the stars and constellations, here is another alternative you can try! This idea can be accomplished simply with the help of a canvas, an exacto knife, some tape and paint. Note that this is not limited to constellation designs, it is only limited by the vastness of your imagination. Check out Thread Banger’s video tutorial for this DIY!
Anyone else thought of The Fault in Our Stars when they saw the canvas on the right? Fans can incorporate their favourite quote from a movie or a book into their design. This is great to give your work of art a personality. Have a friend with a birthday coming up? Try this DIY out okay?
Okay.
EIGHT : Photo display
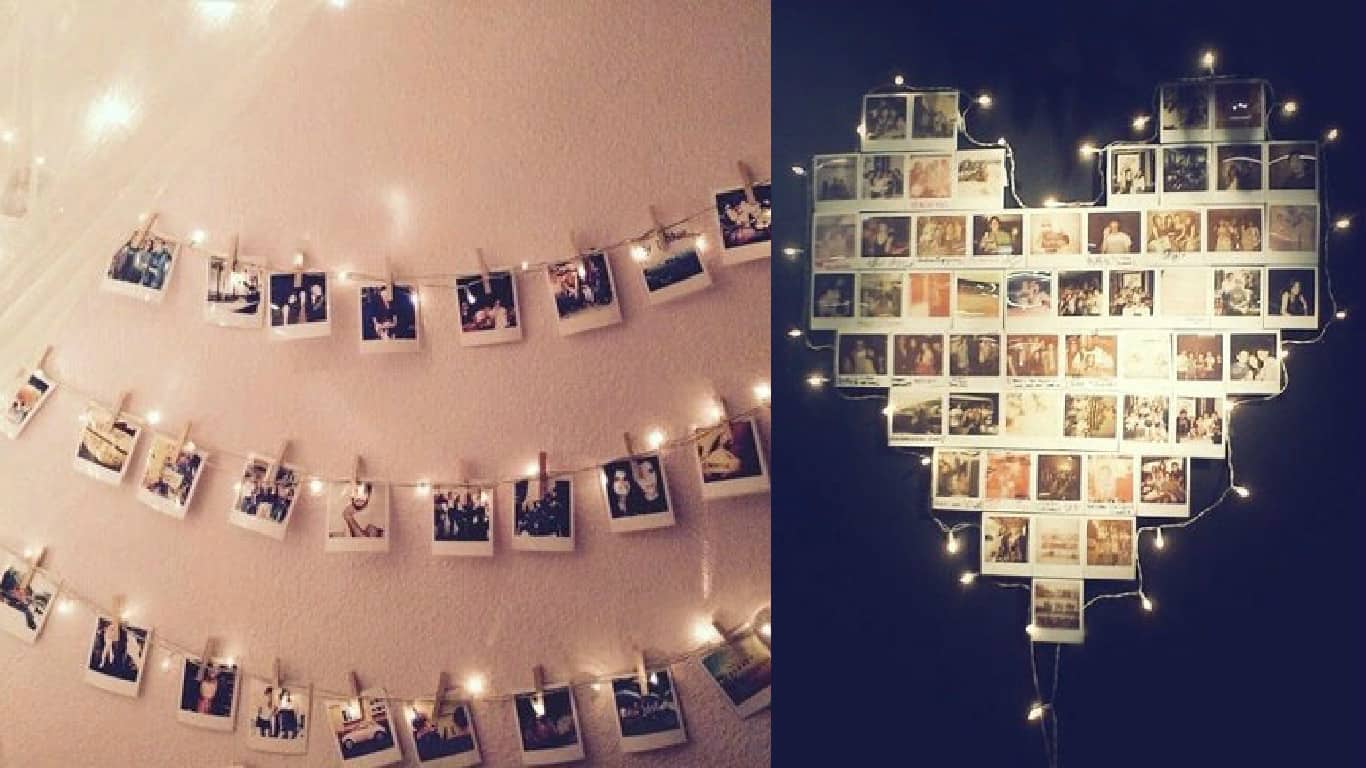
Now that instant photography (Polaroid, instax etc.) is gaining traction in the market, why not show off your works of art or simply share those memories by adding string lights to your photo display? These images will inspire the inner photographer-cum-decorator in you. The most common way is use it as a cord to hang photos. The only cost involved is the wooden pegs used to clip the photos: Diaso offers them in an array of sizes! Crafter tip: Add colour by decorating your wooden pegs with pretty washi tape!
Another popular way is to frame the photos with the string lights as shown on the right. A downside to this idea is its inflexibility: it would be hard to add or remove photos without ruining the overall arrangement.
NINE : Say something (We’re not giving up on this DIY)
Do you have something to say to visitors? Like declaring that this space is yours or a photo-worthy wall with your brand’s name? You can use string lights to make a glaring statement! We suggest spelling out a word or two but not an entire quote! This is a cute and charming way to personalise to your space. Remember the first idea on the list? Yes? Here’s the chance to flex those DIYing muscles!
TEN : Reinvent light fixtures
Did you know that it isn’t against the laws of fashion to pair denim with denim? What?! We didn’t know either. Here, we’ll be pairing lights with lights! Note of caution: Not every pairing works. The general rule of thumb when it comes to matching would be ‘Opposites attract’. It is all about creating balance and harmony in your piece of art. Since string lights are petit and soft in nature, try pairing it with something that’s large and industrial. We suggest to sticking with the same type of lights too: avoid matching warm lights with cool lights.
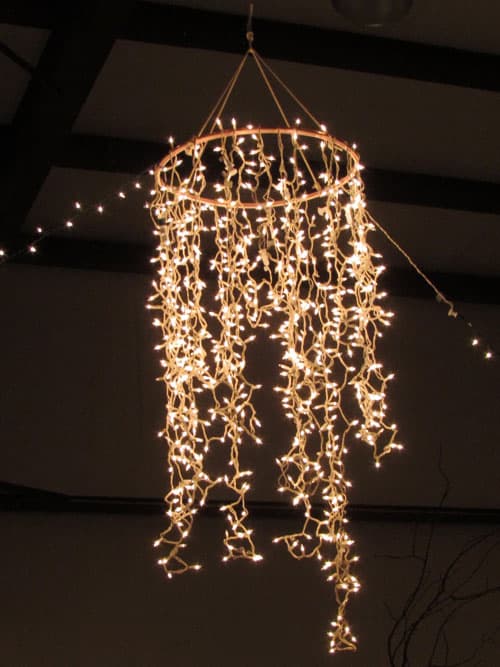
Alternatively, you can recreate common designs for light fixtures because of the flexibility of string lights. This picture shows a chandelier inspired light fixture made with string lights and a hula hoop!
So there you have it, 10 creative ideas to bear in mind the next time you take down your Christmas tree. We hope these low-cost ideas and tips have tickled the inner interior designer in you and perhaps inspired you to look into the value of seemingly mundane objects. For beginner DIYers and designers, string lights are a good start as they offer boundless options with its flexibility, variety, and versatility. There are certainly many more ways you can put your string lights to use: comment on and share this blog post and maybe, just maybe, we’ll do a part 2.
