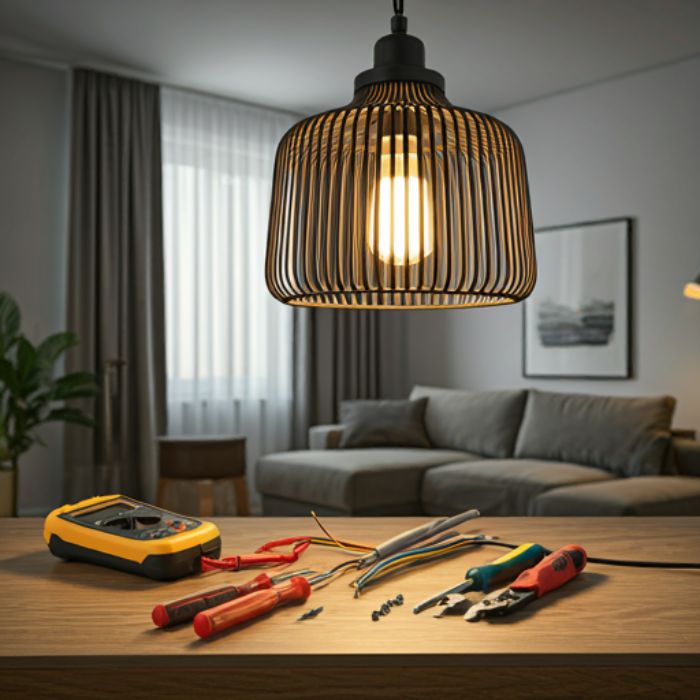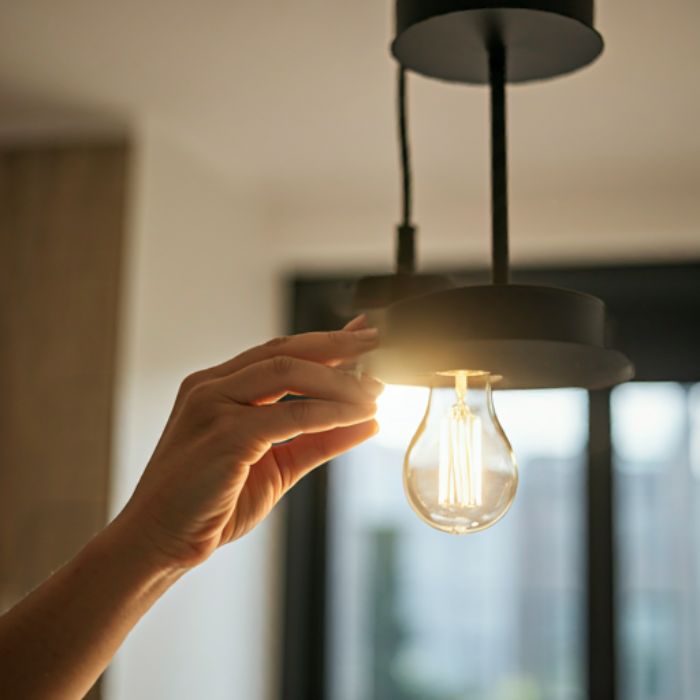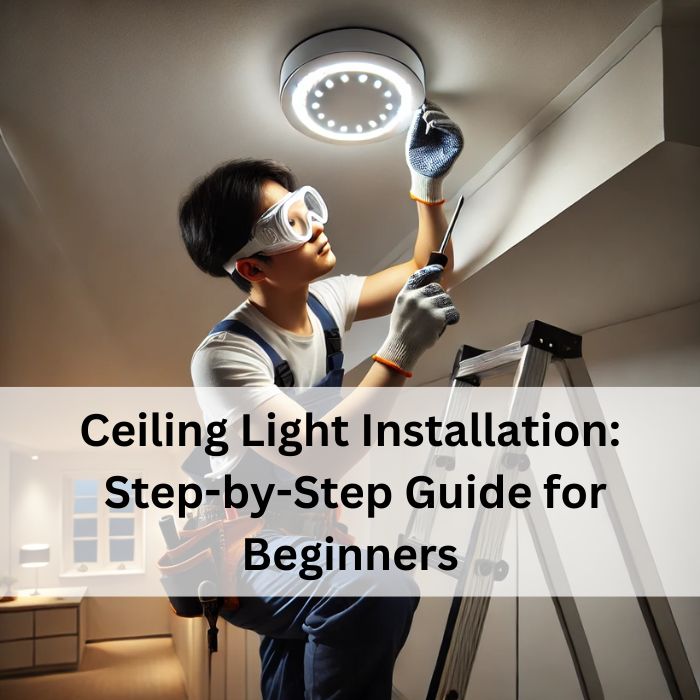
Installing a ceiling light can seem intimidating for beginners, but with the right tools, knowledge, and safety precautions, it’s a manageable task. Whether you’re replacing an outdated fixture or adding a new one, this guide walks you through every step to successfully install a ceiling light. Let’s dive in and illuminate your space with confidence!
Why Install a Ceiling Light Yourself?
Installing a ceiling light yourself can save you money and provide a sense of accomplishment. It’s a great way to take control of your home improvement projects, allowing you to personalize your lighting setup. Plus, with the right tools and guidance, the process is simpler than you might think.
Benefits of DIY Ceiling Light Installation
Tackling a ceiling light installation project on your own offers several advantages. First, it gives you complete control over the process, ensuring that the light is installed exactly the way you want. Additionally, you’ll develop new skills that can be applied to future home improvement tasks. Plus, there’s a sense of satisfaction that comes from completing a DIY ceiling light installation with your own hands.
Cost Savings Compared to Hiring an Electrician
Hiring a professional electrician for ceiling light fixture installation can cost anywhere between $100 and $300 for a simple task like replacing a ceiling light. By doing it yourself, you can significantly reduce these expenses. With just an investment in basic tools and materials, you’ll save money while still achieving professional-looking results.
Tools and Materials You’ll Need
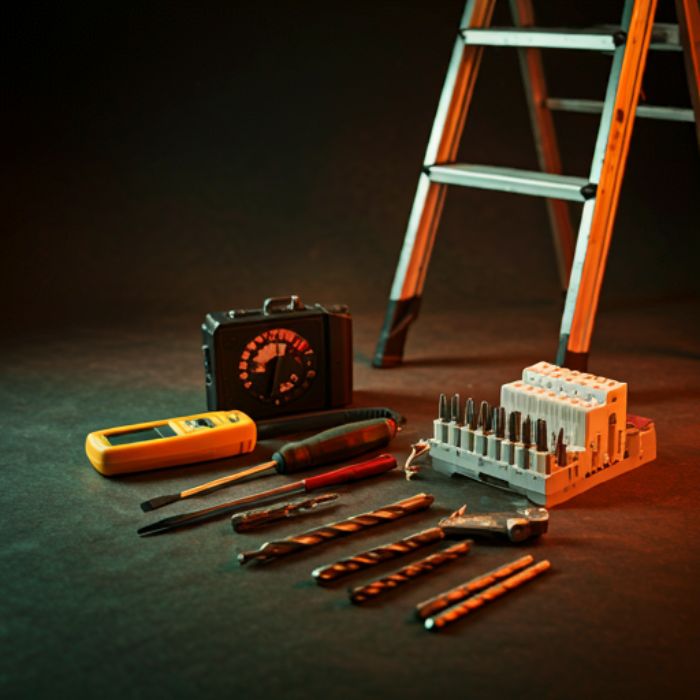
Before starting your project, gather essential tools like screwdrivers, a voltage tester, and wire strippers to make the process smooth and efficient. Choose a light fixture that matches your room’s style and ensure it’s compatible with your existing electrical setup. Having all your tools and materials ready will help avoid interruptions during the installation.
Essential Tools for Installation
Before beginning your DIY ceiling light installation, gather the following tools:
- Screwdriver (Phillips and flathead)
- Voltage tester
- Wire stripper
- Needle-nose pliers
- Ladder
- Drill and bits (optional)
Having these tools at hand will streamline the process and help avoid unnecessary interruptions.
Choosing the Right Ceiling Light Fixture
Not all light fixtures are created equal. When choosing a fixture to install, consider the following:
- Room size and ceiling height.
- Opt for LED fixtures for energy efficiency.
- Compatibility with your existing electrical box.
Selecting the right fixture ensures a smooth ceiling light fixture installation process and enhances the room’s overall aesthetics. For larger rooms, you might even consider recessed lighting installation or track lighting installation for a modern and efficient look.
Preparing for Installation
Preparation is key to a safe and successful ceiling light installation. Start by turning off the power at the circuit breaker and confirming it’s off with a voltage tester. Clear your workspace, gather your tools, and carefully remove any existing light fixture to create a clean slate for the new installation.
Turn Off the Power
Safety is paramount when wiring ceiling light fixtures. Locate the circuit breaker that controls the room’s power and switch it off. Use a voltage tester to confirm that no electricity is flowing to the wires.
Safety Precautions Before Starting
- Wear insulated gloves and rubber-soled shoes.
- Keep the workspace dry and clutter-free.
- Ensure the ladder is stable and positioned correctly.
Taking these precautions minimizes the risk of injury and ensures a smooth installation process.
Remove the Old Light Fixture
If you need to replace a ceiling light, begin by carefully unscrewing and removing the old fixture. Detach the wires and set the old fixture aside. Remember to note the wiring configuration, as this will help when connecting the new light.
Step-by-Step Guide to Installing a Ceiling Light
Begin by inspecting the electrical box to ensure it’s sturdy and properly rated for your new fixture. Assemble the ceiling light as per the manufacturer’s instructions and carefully connect the wires, matching the live, neutral, and ground wires. Secure the fixture to the ceiling, test it by turning on the power, and enjoy your newly installed light!
Step 1: Inspect the Electrical Box
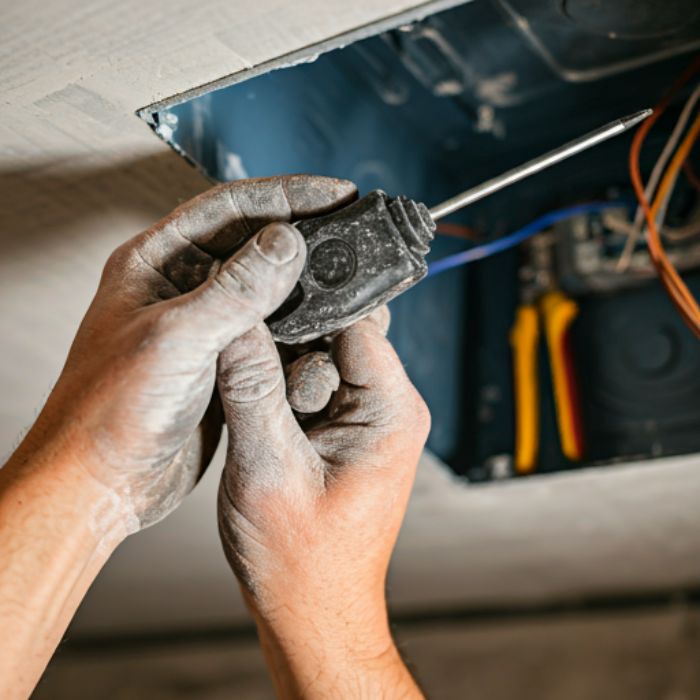
Check that your electrical box is securely mounted and rated to support the weight of your new light fixture. If you’re installing a hardwired ceiling light or ceiling fan installation, the box must meet specific safety requirements.
Step 2: Assemble the New Light Fixture
Follow the manufacturer’s instructions to assemble the fixture. This may include attaching decorative elements, threading wires through the canopy, or adjusting the length of the hanging chain. Whether it’s a plug-in ceiling light or a more permanent solution, proper assembly is crucial.
Step 3: Connect the Wires
Match the fixture wires to the corresponding wires in the ceiling:
- Black to Black: Live wire
- White to White: Neutral wire
- Green/Bare to Green/Bare: Ground wire
When wiring ceiling light fixtures, use wire nuts to secure the connections and wrap them with electrical tape for extra safety.
Step 4: Secure the Fixture to the Ceiling
Attach the light fixture to the electrical box using the mounting screws provided. Make sure it’s snug and level to avoid a wobbly fixture. Proper alignment is especially important for recessed lighting installation or track lighting installation, where precision matters.
Step 5: Test the New Fixture
Turn the power back on and flip the light switch to test your installation. If the light works, congratulations! If not, revisit the wiring connections to troubleshoot the issue.
Troubleshooting Common Issues
Common problems like flickering lights or a fixture not turning on often stem from loose wires or compatibility issues. Double-check all connections and ensure your electrical box can handle the new fixture’s requirements. If problems persist, consult a professional to diagnose the issue safely.
Flickering Lights
Flickering can indicate loose wiring or a faulty bulb. Double-check the wiring connections in your ceiling fixture to ensure they are secure. If the bulb continues to flicker, replace it with a new one to rule out bulb-related issues.
No Power to the Fixture
If your newly installed ceiling light doesn’t turn on, verify that the circuit breaker is turned back on. Use a voltage tester to confirm that power is reaching the electrical box. If no power is detected, there may be an issue with your home’s wiring, which could require professional assistance.
Loose or Wobbly Fixtures
A wobbly light fixture is not only unsightly but also unsafe. Tighten the mounting screws securely to stabilize the fixture. If the fixture still feels unstable, inspect the electrical box to ensure it’s rated to support the fixture’s weight. For heavier fixtures like a ceiling fan installation, upgrading to a stronger box may be necessary.
Maintenance Tips for Ceiling Lights
Cleaning and Care Tips
Keeping your ceiling lights clean enhances their brightness and prolongs their lifespan. Use a soft cloth to wipe down the fixture regularly, and clean glass shades with a mild soap solution. Avoid using harsh chemicals that may damage the fixture’s finish.
How Often to Check for Repairs
Inspect your ceiling light fixtures every six months for loose screws, signs of rust, or electrical issues. Regular maintenance helps catch potential problems early, saving you time and money in the long run.
Conclusion
Final Thoughts on DIY Ceiling Light Installation
Installing a ceiling light, whether it’s a plug-in ceiling light or a hardwired ceiling light, is a fantastic way to elevate your home’s ambiance and functionality. With the right tools, preparation, and step-by-step guidance, you can complete this project safely and confidently. Transform your space today and enjoy the satisfaction of a job well done.
Ready to upgrade your home lighting? Check out the premium range of ceiling lights on Screed! Whether you’re looking for sleek recessed lighting, versatile track lighting, or stylish ceiling light fixtures, Screed has the perfect solution to suit your needs. Shop now and let your home shine like never before!
FAQs
1. What type of ceiling light is best for my room?
The best ceiling light depends on your room’s purpose and style. For living rooms, opt for chandeliers or pendant lights. For kitchens, recessed lighting installation or track lighting installation can be practical and stylish. Always consider room size, ceiling height, and natural light when choosing.
2. Can I install a ceiling light without prior electrical experience?
Yes, basic ceiling light installation can be done without prior electrical experience. By following safety precautions and detailed guides like this one, you can handle simple installations. However, for complex tasks like ceiling fan installation or upgrading electrical boxes, consult a professional.
3. How do I know if my electrical box is safe to use?
Inspect your electrical box for signs of wear, damage, or instability. It should be firmly mounted and rated to support your fixture’s weight. If unsure, consult the fixture’s manual or seek advice from a hardware store professional.
4. What should I do if my light doesn’t turn on after installation?
Double-check the wiring connections and ensure the power is turned on at the circuit breaker. Test the fixture with a voltage tester to verify power. If issues persist, contact a licensed electrician to inspect your wiring.
5. Is it necessary to hire an electrician for ceiling light installation?
For straightforward installations, hiring an electrician isn’t necessary. However, if the project involves upgrading electrical boxes, wiring ceiling light fixtures, or addressing complex electrical issues, it’s best to hire a professional to ensure safety.
See Related Article:
The Ultimate Guide to Ceiling Lights: Choosing the Perfect Fixture for Every Room
