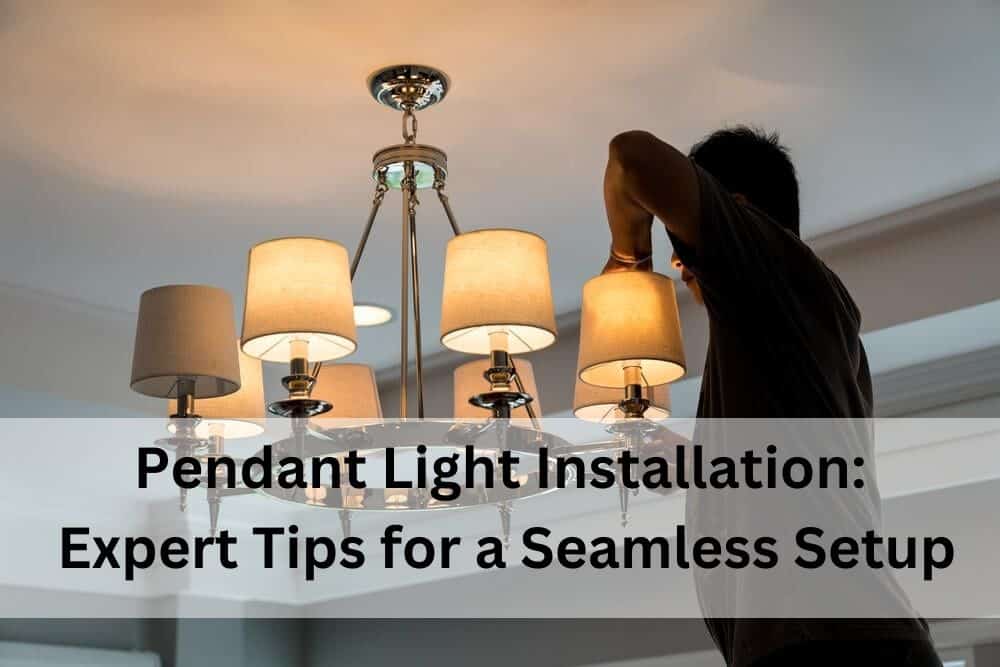
Pendant lights are a popular choice for homeowners looking to add style and functionality to their spaces. Whether you’re considering a modern kitchen update or a chic living room makeover, installing pendant lights can dramatically enhance your home’s ambiance. However, to ensure a seamless installation, it’s crucial to follow expert advice, especially when it comes to safety, aesthetics, and functionality.
Understanding Pendant Light Installation
How to Install Pendant Lights: A Step-by-Step Guide
Installing pendant lights might seem straightforward, but it requires careful planning and attention to detail. Here’s a step-by-step guide to help you through the process:
- Turn Off the Power: Safety first. Always ensure the power is off at the circuit breaker before starting any electrical work.
- Determine the Pendant Light Installation Height: The height at which you install your pendant lights is crucial for both aesthetics and functionality. A common rule of thumb is to hang the pendant light 30 to 36 inches above a kitchen island or dining table. For living rooms, the height can vary depending on ceiling height and room size.
- Prepare the Pendant Light Wiring: Carefully follow the manufacturer’s instructions when dealing with the pendant light wiring. Typically, you’ll need to connect the wires from the pendant light to the corresponding wires in your ceiling. If you’re unsure about this step, it might be wise to consider pendant light professional installation.
- Adjust the Pendant Light Cord Length: The cord length can be adjusted according to your desired height. Ensure the cord is straight and secure before proceeding.
- Install the Pendant Light Canopy: The canopy is the decorative plate that covers the electrical box in the ceiling. Secure it tightly with the provided screws to ensure it supports the weight of the pendant light.
- Attach the Pendant Light Hardware: Depending on your pendant light model, you may need to assemble various hardware components. Follow the manufacturer’s instructions to ensure everything is securely in place.
- Test the Installation: Once everything is installed, turn the power back on and test the light to ensure it functions correctly.
Choosing the Right Pendant Light Installation Height
Choosing the correct height for your pendant lights is essential for both practicality and visual appeal. The height will depend on the room type, ceiling height, and the function of the pendant light. Here are some guidelines:
- Over Kitchen Islands: Install pendant lights 30 to 36 inches above the countertop. This height provides adequate lighting while avoiding head bumps.
- Above Dining Tables: The pendant light should hang 30 to 34 inches above the table surface, creating a cozy and intimate atmosphere.
- In Living Rooms or Bedrooms: If the pendant light is the room’s focal point, hang it 7 feet above the floor to avoid obstruction.
Pendant Light Wiring: Key Considerations
Wiring is a critical aspect of pendant light installation. Poorly connected wires can lead to safety hazards, so it’s important to follow these tips:
- Match the Wires Correctly: Typically, you’ll find a black (live) wire, a white (neutral) wire, and a green or copper (ground) wire. Ensure each wire is connected to its corresponding wire from the ceiling.
- Secure the Connections: Use wire nuts to secure the connections, and make sure they are tightly twisted to avoid any loose connections.
- Double-Check Before Powering On: Before turning the power back on, double-check all connections to ensure everything is correctly and securely installed.
Selecting the Ideal Pendant Light Cord Length
The cord length of your pendant light can greatly impact the overall look of your room. Here’s how to choose the right length:
- Adjustability: Opt for adjustable cords if you’re unsure of the exact length you need. This allows for flexibility and the ability to change the height later if necessary.
- Cord Aesthetics: Consider the material and color of the cord. It should complement the style of your room and the pendant light itself.
Understanding Pendant Light Canopy and Hardware
The canopy and hardware of a pendant light may seem like minor components, but they play a significant role in the overall installation.
- Pendant Light Canopy: This part not only covers the electrical box but also contributes to the fixture’s aesthetic appeal. Choose a canopy that matches the finish of your pendant light for a cohesive look.
- Pendant Light Hardware: The hardware includes all the screws, brackets, and mounts needed to install the light. Ensure that all hardware is included in the package and that it’s compatible with your ceiling type.
Pendant Light Safety and Electrical Considerations
Safety should be a top priority during any electrical installation. Here are some key safety tips:
- Follow Local Electrical Codes: Make sure your installation complies with local building and electrical codes. This is especially important if you’re doing a pendant light DIY project.
- Use the Correct Tools: Always use the appropriate tools for the job. This includes wire strippers, screwdrivers, and voltage testers.
- Consider Professional Installation: If you’re not confident in your electrical skills, it’s best to hire a professional. Pendant light professional installation ensures the job is done correctly and safely.
Pendant Light DIY vs. Professional Installation
Deciding between DIY and professional installation depends on your skill level and the complexity of the project. While a DIY approach can save money, professional installation guarantees a safe and seamless setup.
Conclusion
Pendant light installation can transform your living space, adding both style and functionality. By following these expert tips on pendant light installation height, wiring, cord length, and safety, you can achieve a professional-looking result. Whether you choose to tackle the project yourself or hire a professional, the key is to plan carefully and prioritize safety at every step. With the right approach, your pendant lights will illuminate your home beautifully for years to come.


